Last updated November 18, 2026

Free written scope consultation - allowances, timeline, and change-order rules on paper before a single trade is scheduled
Driveway & Pavers Troubleshooting in Grand Prairie: Common Problems and How to Fix Them
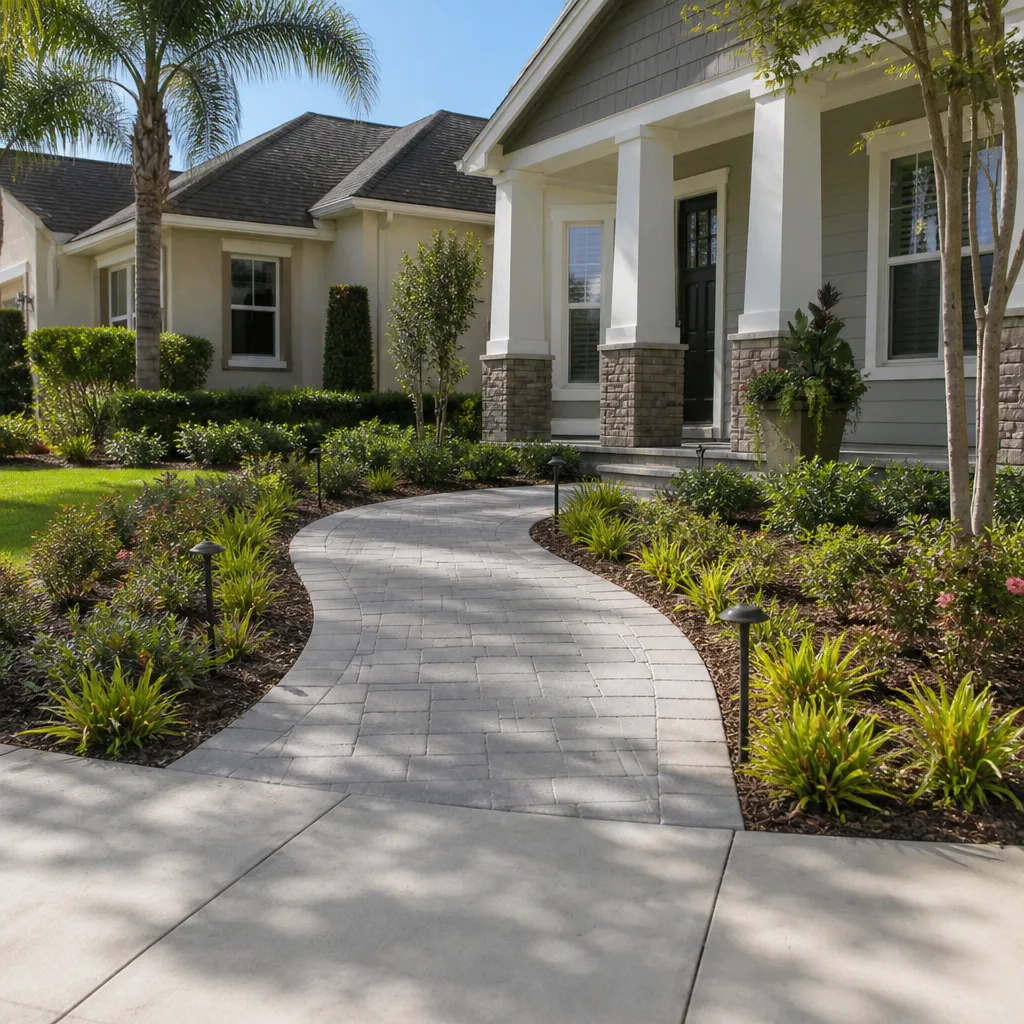
If your pavers are rocking, sinking, or showing white staining within a couple of years of installation, the pavers themselves are usually not the problem. What’s underneath them is. That’s the part most homeowners never see, and it’s the part that decides whether a driveway lasts twenty years or starts failing in three. Replacing the surface without fixing the base is money wasted twice: once on the pavers that fail, and again on the crew that comes back to redo what should have been done right. In this guide, we’ll teach you how to read the signals your driveway is sending. Rocking, settlement patterns, weed lines, white haze, and edge failures each point to a specific root cause, and once you know which one you’re looking at, you can make an informed decision instead of being sold a full replacement when a targeted repair will do the job.
Quick Answer
Most driveway paver problems in Grand Prairie trace back to one of three root causes: bad base preparation, the wrong joint sand, or poor drainage. The surface pattern tells you which one you’re dealing with. Localized dips in high-traffic areas usually mean settlement or washout, widespread rocking means the base was never compacted properly, weeds along every joint point to failing polymeric sand, and efflorescence is a moisture-and-mineral issue tied to North Texas soils. A targeted repair solves most of these for far less than a full driveway replacement.
Styles & brands we work with
- Kitchen remodeling
- Bathroom remodeling
- Home additions & ADU
- Roofing
- Windows & doors
- Driveway & pavers
- Fence
Table of Contents
- How to Read Your Paver Problems Like a Diagnostic Chart
- Settlement, Clay Heave, or Washout? Matching the Pattern to the Cause
- Weed Infiltration and Ant Colonization: Why Polymeric Sand Fails
- Efflorescence in Grand Prairie: Removing White Staining Without Etching
- Edge Restraint Failures: Spike Pulls, Overhang, and Soil Movement
- Repair-in-Place, Lift-Relay, or Full Reconstruction: The Honest Decision Framework
- What Paver Brands and Base Materials Actually Hold Up Here
- Keeping a Healthy Driveway Healthy
How to Read Your Paver Problems Like a Diagnostic Chart
Pavers don’t fail randomly. They fail in patterns, and each pattern has a cause. If you can identify the pattern, you can usually identify the fix before anyone comes out to your property. Here’s how we’ve learned to read them, and how you can too.
Pattern 1: Isolated rocking pavers near the center of a traffic path. This is usually washout. Water has found a way into the base, undermined the bedding layer, and left a small void under a few pavers. When the void is small, the fix is often as simple as lifting the affected pavers, re-sanding the bedding, and re-setting them. When the void is large or recurring, there’s a drainage problem upstream that needs addressing.
Pattern 2: A shallow depression that spreads across a wider area, especially in summer. In Grand Prairie, expansive clay soils swell and shrink with moisture. When the base wasn’t designed to accommodate that movement, the soil movement telegraphs up through the pavers as a gentle, wide dip. That pattern is clay heave, and it responds best to lifting and relay rather than wholesale replacement.
Pattern 3: A long strip of sinking pavers running parallel to the driveway edge or to a downspout. That’s almost always erosion. Water is being channeled along the edge of the driveway rather than away from it, and it’s carrying base material with it. Fixing it requires re-grading the drainage path, not just re-setting the pavers.
- Rocking in one spot: bedding failure or washout underneath
- Wide, gradual dip: subgrade movement, likely clay-related
- Sinking strip: erosion from drainage path
- Cracking that tracks a line: base discontinuity or an under-slab pipe issue
- Hollow sound when you tap: void under the paver, not yet settled
If you can identify which of these you’re seeing, you’ll go into a contractor conversation knowing whether you’re talking about a spot repair or a bigger job. That’s the leverage you want before you start getting estimates. It’s also the reason we recommend checking for a driveway & pavers scope that includes base inspection, not just surface work.
Settlement, Clay Heave, or Washout? Matching the Pattern to the Cause
These three problems can look deceptively similar at a glance, and a contractor in a hurry may lump them together. But each needs a different repair, and the fix for one will not solve the other two.
Settlement: the base wasn’t compacted
Settlement is what happens when the granular base material was placed but not compacted correctly. Initially, the driveway looks fine. Over the first one to three years, traffic and moisture consolidate the loose base, and the pavers start following the base downward. The tell is that settlement is usually gradual and widespread, and it often shows up along the whole traffic pattern rather than in one place.
In this region, proper compaction means compacting in thin lifts, not dumping the whole base and running over the top once. When we see settlement across a whole driveway, the most honest answer is that the base was placed in one thick lift and never got the compaction it needed. The fix is usually lift-relay (more on that below), not a patch.
Clay heave: the soil underneath is moving
North Texas clay absorbs water and swells, then dries and shrinks. Over the course of a year, that means the subgrade under a driveway goes through significant volume change. If the base wasn’t designed with that in mind, the clay movement pushes pavers up in some spots and pulls them down in others, usually in a gradual, tilting pattern rather than a sharp dip.
The clue is timing. Settlement happens in the first two or three years and then stabilizes. Clay heave keeps moving with the seasons, so you’ll notice the pattern changes with wet and dry years. If your driveway drains well after a rain and then shows a new dip in a dry August, that’s clay-related, not compaction-related.
Washout: water is stealing your base
Washout is the most targeted of the three problems, and the easiest to spot. Water has entered a joint or an edge, flowed through the bedding layer, and carried fine base material away, leaving a void. The pavers sitting over that void rock underfoot. Washout is usually isolated: one or two pavers, or a short run along an edge, rather than the whole driveway. Fixing it requires re-stabilizing the bedding layer and, more importantly, correcting the drainage path that caused it.
Quick diagnostic:
- Press down on the edge of the paver with your foot. If it rocks, you’re probably looking at a void or washout.
- Run a straightedge across the driveway. A wide, gradual dip is clay or settlement. A sharp dip is usually washout.
- Wet the driveway and watch where the water goes. If it pools along an edge or runs off toward the house, drainage is a likely contributing factor.
- Note the timing. If problems appeared in the first two years and stopped, that’s settlement. If they keep moving seasonally, suspect clay movement.
If you want a second opinion, call (844) 771-4071. We answer 24/7.
Weed Infiltration and Ant Colonization: Why Polymeric Sand Fails
Weeds growing in every joint of your driveway aren’t a coincidence, and they aren’t a weed problem. They’re a joint sand problem. Polymeric sand is the engineered material designed to fill the gaps between pavers and lock them together against water intrusion, weed growth, and insect activity. When it’s installed correctly, it does that job for years. When it’s installed incorrectly, it fails within a single season, and in Grand Prairie, our summer heat and winter moisture cycle make bad sand installation show up fast.
Here’s how polymeric sand fails, and how to tell whether yours was installed correctly.
Sign 1: Weeds in every joint, not just a few
If you find one or two weeds near the edge, that’s normal. If you find weeds along every joint within a season of installation, the polymeric sand has failed or was never activated. The most common cause is not enough water during the activation step. Polymeric sand needs a specific amount of water to cure correctly, and too much or too little breaks the polymer bond before it sets.
Sign 2: Ants tunneling through the joints
Ants colonize polymeric sand when the sand is loose or absent. If you’re seeing small mounds of sand pushed up between pavers, ants have decided that joint is a tunnel. That’s evidence your polymeric sand has lost its integrity and is now just loose sand in a channel. Re-sanding with a properly specified polymeric product is the usual remedy.
Sign 3: Sand washing out of the joints after rain
Correctly installed polymeric sand shouldn’t wash out in normal rain. If you see the joints emptying after every storm, the sand either wasn’t polymeric to begin with, was under-activated, or the driveway has a drainage issue pushing water through the joints faster than the sand can handle.
What a proper installation looks like
- Pavers are swept clean and joints are dry before sand placement.
- Polymeric sand is spread and vibrated into the joints until they’re full and slightly overfilled.
- Excess sand is swept off the surface. This is the step that gets rushed most often.
- The sand is activated with a controlled application of water, usually in a light mist that wets the surface without pooling or washing.
- The driveway is left to cure, without traffic, until the polymer sets.
When we install hardscape, we use engineered paver systems and joint products from brands like Belgard, Unilock, Techo-Bloc, Tremron, and Cambridge Pavers, along with polymeric sand selected for the specific joint width of the paver. We also carry base materials from Quikrete and Sakrete for smaller repair scopes. That material selection matters less than the process: sand installed correctly is the difference between a driveway that stays weed-free for years and one that looks like a garden bed within a season.
Efflorescence in Grand Prairie: Removing White Staining Without Etching
Efflorescence is the white, powdery haze that shows up on the surface of pavers, usually as a blotchy pattern rather than a uniform coating. It’s not dirt and it’s not damage. It’s mineral salt that has migrated to the surface of the paver as moisture moves through the concrete and evaporates. The salt left behind is what you see.
North Texas is a region where this shows up more often than in parts of the country with different soil chemistry. Caliche-heavy soils contain calcium carbonates that dissolve into water and travel through the paver, and when the moisture evaporates, those minerals crystallize on the face. It can happen to any concrete paver regardless of brand or quality, and it’s most likely to appear in the first year after installation when the pavers are still releasing construction moisture.
The condition that triggers it
Efflorescence needs three things at once: moisture in the paver, soluble salts, and a path for evaporation. In a driveway with failing joints or poor drainage, water sits long enough to dissolve and carry minerals. That’s why efflorescence often appears near a settlement dip or a bad edge joint. In those spots, fixing the water problem often stops the efflorescence from coming back after cleaning.
How to remove it without damaging the surface
The instinct is to pressure-wash aggressively or grab a strong acid. Both can etch the paver face, leave a permanently dull patch, and in the case of over-applied acid, actually make the efflorescence worse by opening the surface pores. Here’s the safe approach.
- Start with a dry brush and clean water. A stiff brush often removes the surface haze once the pavers are dry.
- Use a dedicated efflorescence remover formulated for concrete pavers, diluted per the label. Never mix acid products with other cleaners.
- Apply in small sections and rinse thoroughly, so the cleaner doesn’t dry on the surface.
- Let the paver dry completely before judging whether it worked. Some efflorescence lifts over the following week.
- Address the water source. If the staining returns after cleaning, moisture is still moving through the pavers. That’s a joint or drainage problem, not a cleaning problem.
If your efflorescence is widespread or keeps coming back after a proper cleaning, it’s worth having the joints and drainage inspected. Call (844) 771-4071 to schedule a free estimate. Estimates are free and the written scope will tell you exactly what’s being corrected.
Edge Restraint Failures: Spike Pulls, Overhang, and Soil Movement
Edge restraint is the hidden system that keeps your driveway from spreading outward one paver at a time. It’s usually a rigid plastic or metal L-shaped channel, spiked into the ground beside the outermost paver row, and backfilled with soil. When it works, you never notice it. When it fails, the driveway edge shifts, gaps appear, and the whole field of pavers loosens from the outside in.
There are three failure patterns worth knowing, and they look different.
Pattern 1: Spike pull
Edge restraint is held in place by steel spikes driven into the subgrade. If the spikes were set into loose soil, or into clay that swelled and then shrank, they lose their grip. The restraint lifts slightly, the pavers behind it get a little more room to move, and the joint gaps widen. You can often see the restraint peeking above the paver surface or find spikes exposed at the driveway edge.
Pattern 2: Soil movement
Sometimes the restraint is intact but the soil behind it has washed out or settled, leaving the restraint unsupported. The restraint tips toward the driveway and pulls away from the pavers, opening a widening gap along the edge. This is common where the driveway edge sits next to a planting bed or a slope that drains water toward the driveway.
Pattern 3: Vehicle overhang
If a vehicle’s tires are regularly running over the outside row of pavers, the load eventually stresses the restraint. Overhang damage looks like chips and cracks along the outer edge, and it’s most common on narrow driveways or where a garage turn pushes the car over the pavers. Widening the driveway, adding a paver-free apron, or simply parking differently often resolves this.
Edge repair is usually a targeted fix: reset the restraint in compacted soil, replace the spikes, and re-set the affected paver row. If the edge is failing along an entire side of the driveway, it’s often faster to reset the whole side in one pass. Either way, the fix should include a look at why the soil under the restraint moved in the first place, or the failure comes back. For homeowners in neighborhoods across Grand Prairie where lots are tight and driveway edges sit close to fence lines and planting beds, edge restraint inspection is one of the most useful things to ask for. If the driveway edge runs tight along a fence, that’s also a good chance to check the fence line itself; we cover that scope in our fence installation page.
Repair-in-Place, Lift-Relay, or Full Reconstruction: The Honest Decision Framework
This is where homeowners get talked into the wrong scope. A full reconstruction is the most expensive option, and sometimes it’s the right one, but only when the base itself is compromised beyond repair. For most driveway problems in Grand Prairie, one of the two smaller options is the honest answer. Here’s how to tell which one you’re facing.
Repair-in-Place: for localized problems
Repair-in-place means the affected pavers are lifted, the bedding layer is corrected, and the pavers are re-set and re-sanded, without touching the surrounding field. It’s the right fix for isolated rocking pavers, small voids from washout, single failed edge sections, and empty joints from polymeric sand failure.
- When it’s the right call: the problem is confined to one spot, the surrounding pavers are stable, the base under the affected spot is intact.
- What it doesn’t fix: a failing base across the whole driveway, drainage problems upstream, widespread joint failure.
- How long it takes: usually a partial day for a spot repair, sometimes less.
Lift-Relay: for widespread but recoverable surface problems
Lift-relay means the pavers are pulled up across the affected area, the base is re-graded and re-compacted, and the same pavers are re-installed. You keep your existing pavers and only pay for labor and new bedding or joint material. It’s the correct scope when the pavers themselves are in good shape but the base or bedding has failed across a larger area.
- When it’s the right call: settlement or clay movement across a significant portion of the driveway, base compaction that was never done correctly, edge failure that runs the full length of one side.
- What it doesn’t fix: a base that’s structurally inadequate from the start (too thin, wrong material), chronic drainage problems that need to be re-designed.
- How long it takes: typically a couple of days for a standard residential driveway, depending on access and area.
Full reconstruction: for base failure
Full reconstruction means removing the pavers and the base, correcting the subgrade, and rebuilding the base from the compacted soil up. It’s the most expensive option, and the one most often pushed on homeowners who don’t need it. It’s the right call when the existing base is too thin, was installed over the wrong material, or is contaminated with clay or organic matter so that re-compaction won’t hold.
- When it’s the right call: base depth was never correct, the base material itself is failing, or drainage has to be re-designed with new slope across the property.
- What it costs more of: removal, new base material, more time, and the same paver installation labor. That’s the honest reason it costs what it does.
- How long it takes: typically several days for a standard residential driveway.
The single most useful thing you can ask a contractor is this: What’s the base depth, and what makes you confident it’s the right scope? If the answer is vague, get a second opinion. Construction Grand Prairie offers free estimates and a written, line-item scope so you can compare properly. Call (844) 771-4071. We answer 24/7.
What Paver Brands and Base Materials Actually Hold Up Here
Material doesn’t fix a bad base, but a good base paired with a builder-grade paver lasts longer than the same base paired with a low-quality unit. When you’re choosing a system, here’s what to prioritize in the Grand Prairie market.
Paver systems
Engineered paver systems from brands like Belgard, Unilock, Techo-Bloc, Tremron, and Cambridge Pavers come with documented load ratings and dimensional consistency. That consistency is what allows a tight, stable joint line. In a climate that runs from hot, dry summers to wet, humid springs, pavers distributed by established manufacturers hold their color and dimensional stability better than unbranded alternatives.
Base material
For most residential driveways, the base is a crushed granular material, installed and compacted in thin lifts. Pre-bagged base materials from Quikrete and Sakrete are fine for smaller scopes and spot repairs. For a full driveway, you’re usually talking about bulk delivery and a compaction plan. The material matters less than the compaction. Compacted in lifts, it performs. Dumped and rolled once, it doesn’t.
Edge restraint
Rigid edge restraint should be specified and spiked correctly, with soil compacted behind it. Skip the plastic strips that are designed for garden paths and choose a commercial-grade restraint rated for driveway loads.
Joint sand
Polymeric sand should be matched to the joint width of the paver. Sand that’s too coarse for the joint won’t fully fill, and sand that’s too fine washes out. The installation process matters more than the product, but the right product makes a correct installation possible.
When you’re thinking about the whole exterior of the house, it helps to plan these systems together. A driveway and pavers project that lands alongside a new fence, a set of energy-efficient windows, or a covered patio is often more efficient to schedule and finish under one contract. That’s why our team at Construction Grand Prairie handles driveways, fencing, windows and doors, roofing, and ADU projects under one accountable scope, and why we work with the same materials specified by architects and custom builders. It means fewer handoffs and one point of responsibility when a project touches multiple parts of the property.
Keeping a Healthy Driveway Healthy
Most of what goes wrong with a paver driveway goes wrong because water gets where it shouldn’t. A short maintenance routine prevents the top three problems we see in Grand Prairie.
- Inspect the joints every spring. Walk the driveway and look for empty or shallow joints. Re-sand with polymeric sand as soon as you see gaps, before weeds and ants move in.
- Check the edges. Look for spikes lifted above the surface and for a widening gap between the outer paver and the restraint. A small edge repair is cheaper than a full lift-relay.
- Watch water flow. After a heavy rain, walk the driveway and note where water pools or runs toward the house. Redirect downspouts and re-grade soil at edges before erosion starts.
- Clean efflorescence early. A light white haze is much easier to remove than a thick crust. Clean while it’s still thin.
- Avoid chemical de-icers on the surface. In our region, this is rarely needed anyway. When ice does happen, sand is safer for the joints and the surface.
None of these steps require special tools or a contractor visit. They’re the kind of maintenance that lets the original installation do its job for years longer than it otherwise would.
Common Mistakes to Avoid
- Replacing the pavers without inspecting the base. If the base is the problem, a new surface just fails on top of the same base. The pavers are almost never the cause of the problem.
- Using non-polymeric sand to refill joints. Plain mason sand in a driveway joint will wash out in a season and invite weeds. Use polymeric sand specified for driveways.
- Pressure-washing aggressively to remove efflorescence. High-pressure water can chip the paver face and dislodge joint sand. A dedicated efflorescence remover is safer and works better.
- Skipping the edge inspection. Edge restraint failure spreads inward. Visiting the edge once a year forestalls the whole problem.
- Assuming clay movement means replacement. In Grand Prairie, clay heave is common and often fixable with lift-relay. It’s not automatic grounds for a full rebuild.
- Ignoring drainage because the surface looks fine. Standing water at a joint or edge is the leading cause of joint failure and erosion. Fix the water flow before fixing the visible symptom.
- Hiring on the lowest bid without a written scope. A bid that doesn’t specify base depth, compaction, edge restraint, and joint sand isn’t a scope, it’s a number. Get the line items in writing.
See the difference
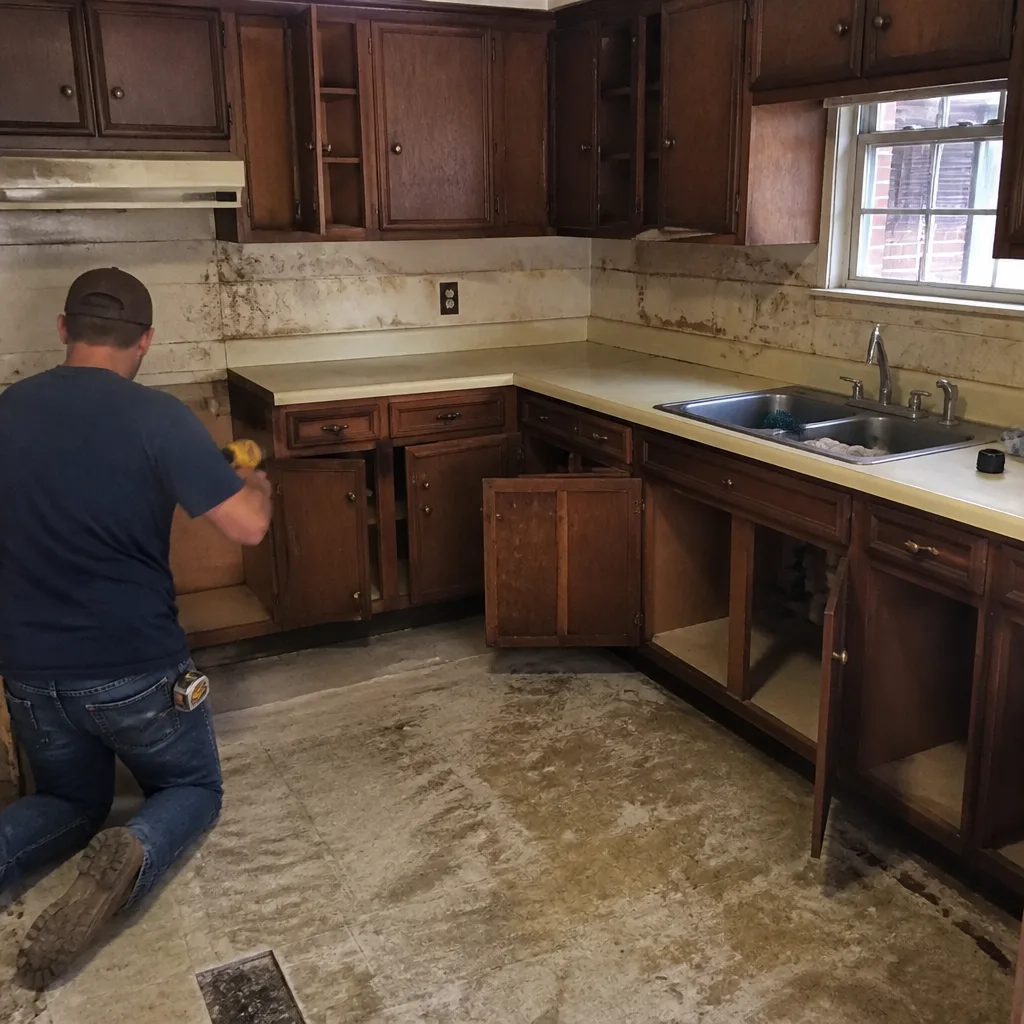 Before
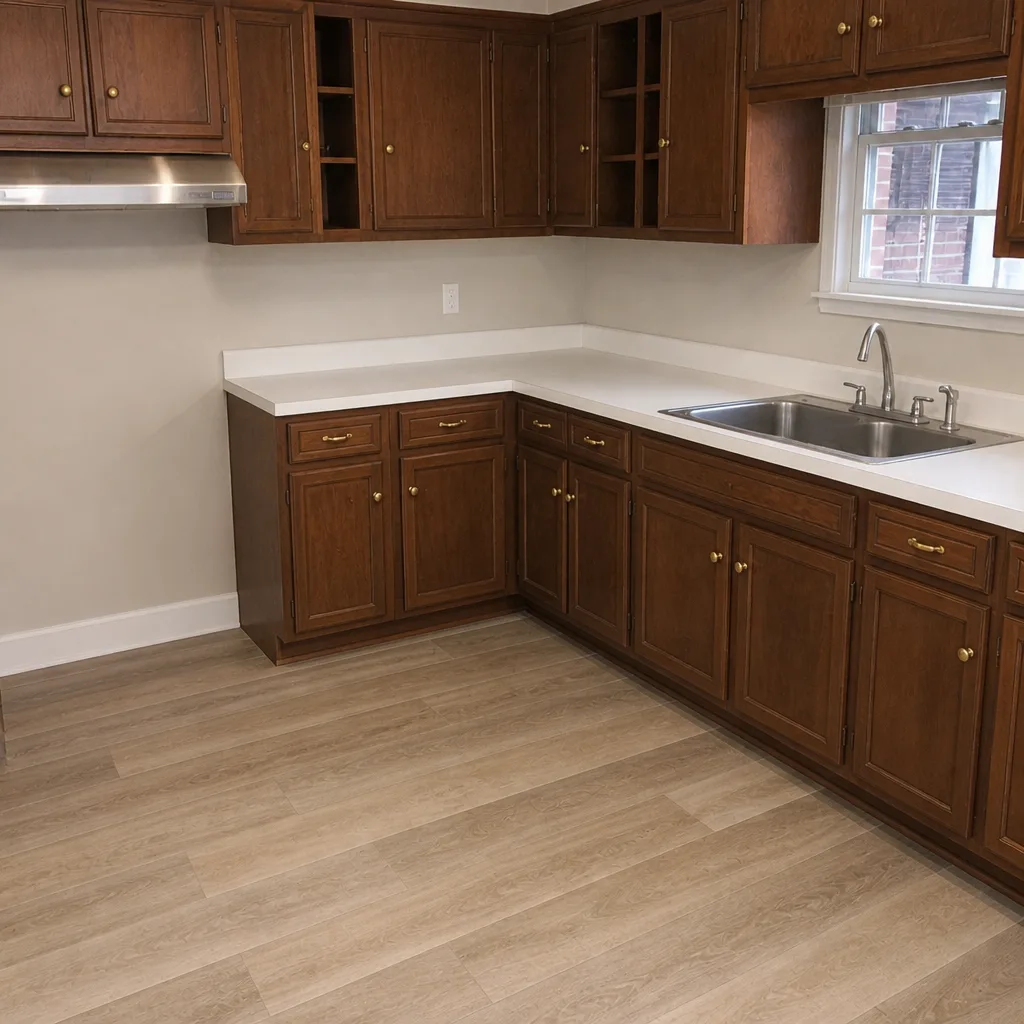 After
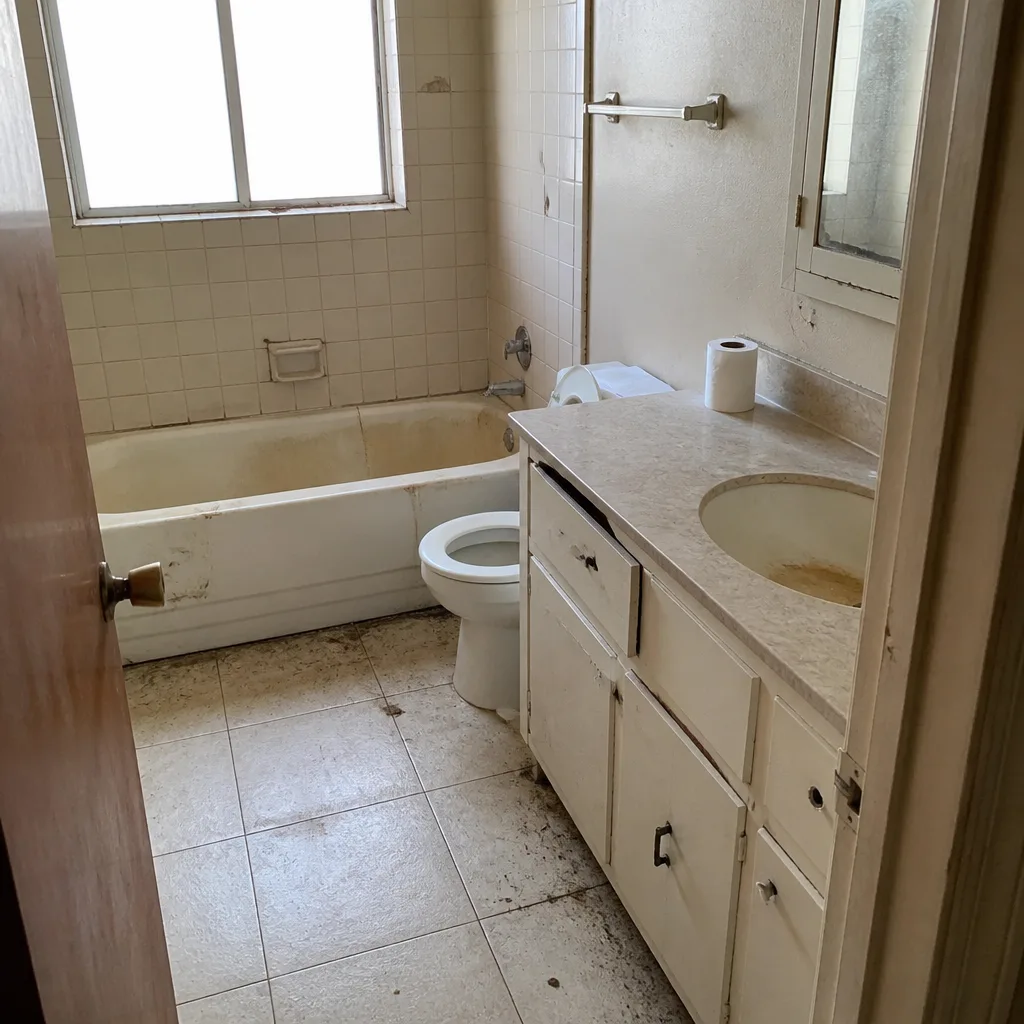 Before
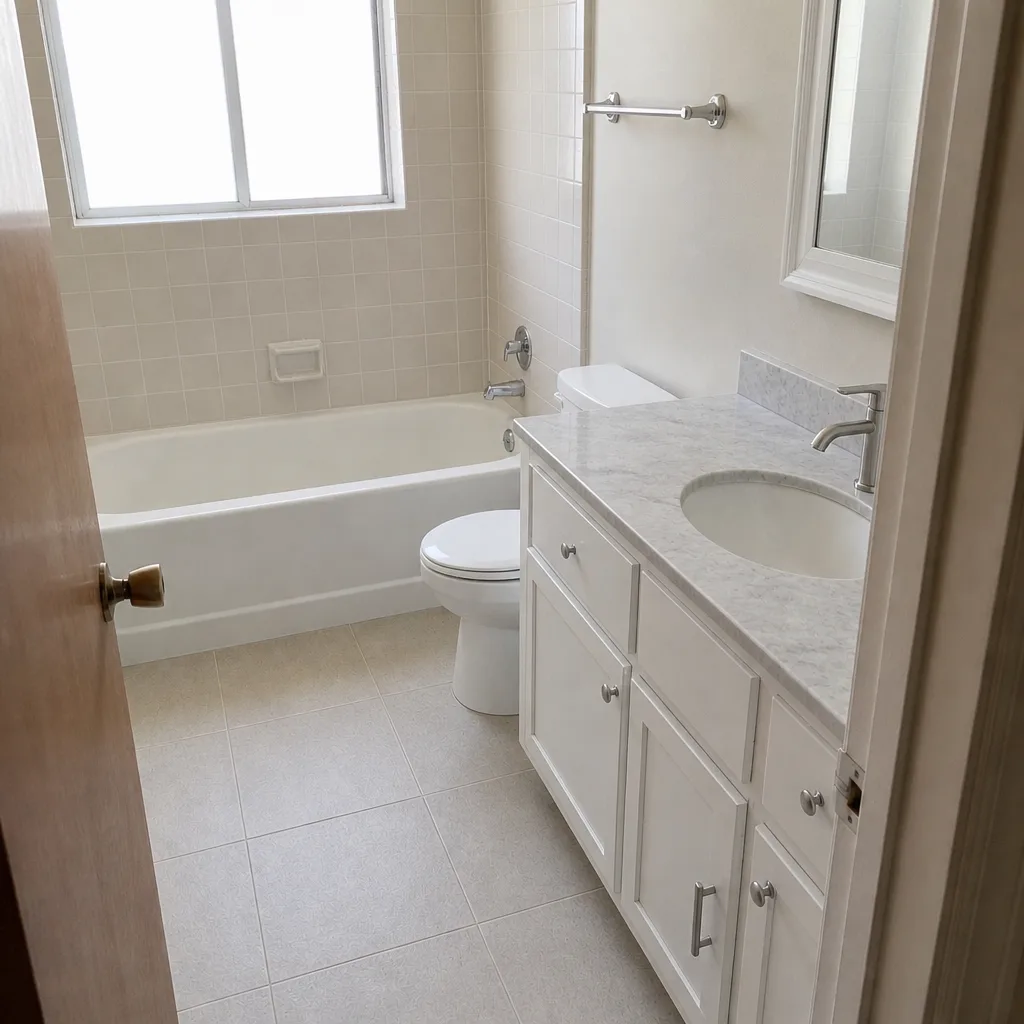 After
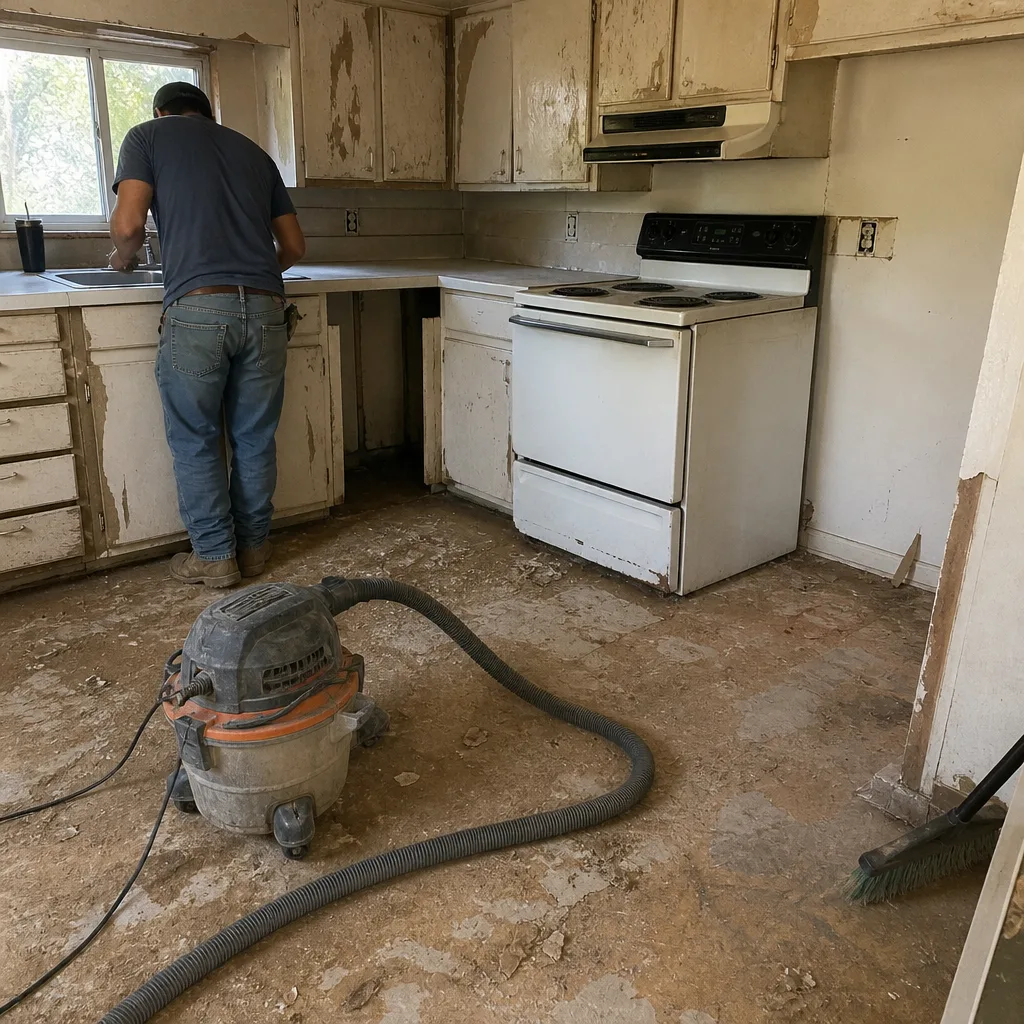 Before
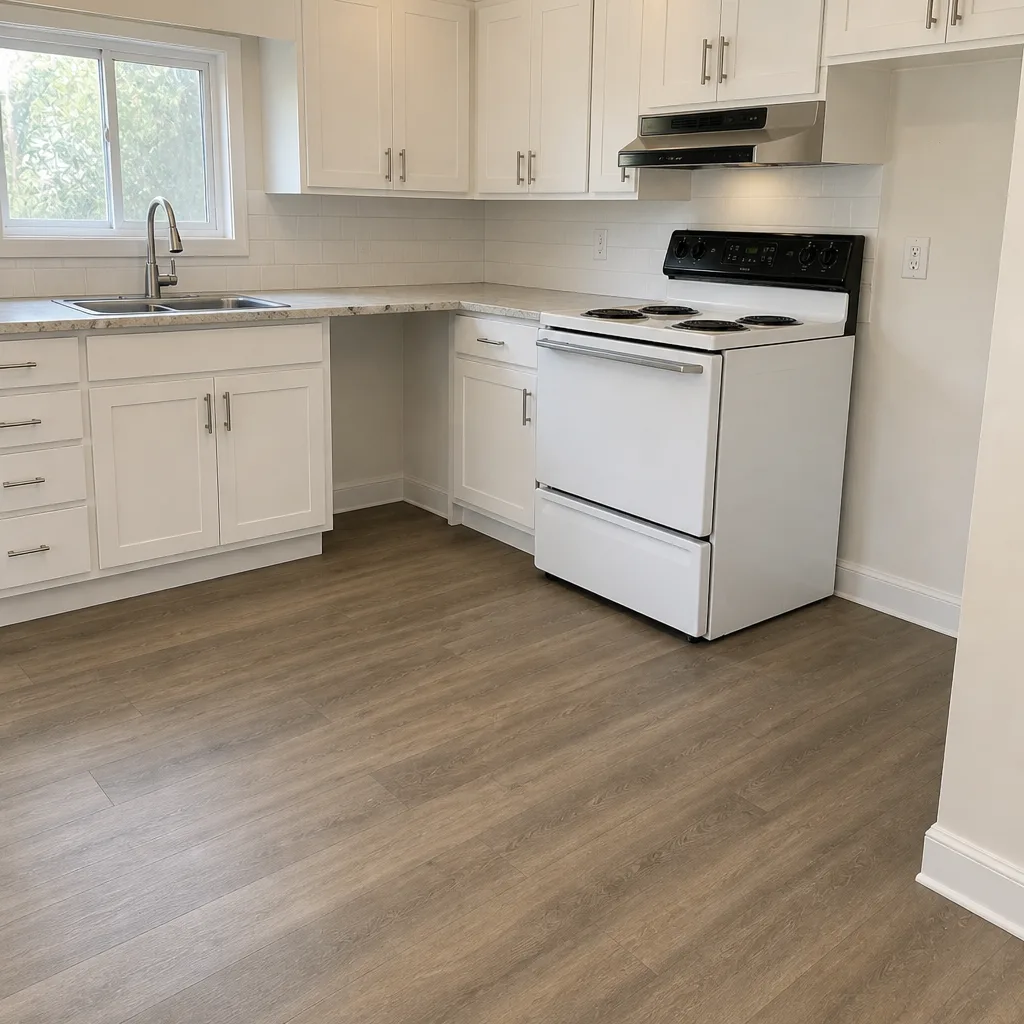 After
When to Call a Professional
Some driveway problems are easy DIY fixes: re-sanding empty joints, a light efflorescence cleaning, redirecting a downspout. But several situations need a professional eye. If you have a large area of rocking pavers, a settlement dip that keeps growing, drainage that runs toward the house, an edge failure that runs the length of one side, or a driveway that’s already been patched twice and is still moving, those are signs of a base or drainage problem that spot work won’t solve. Structural repair around the subgrade and edge systems also carries real risk if you’re not used to it, and getting it wrong can turn a small fix into a full reconstruction.
Construction Grand Prairie offers free estimates in Grand Prairie. We’ll walk the driveway, tell you what we see, and put the scope in writing so you can compare it against any other bid. Call (844) 771-4071. We answer 24/7. Fast dispatch from 7am to 7pm, Sunday through Friday.
Frequently Asked Questions
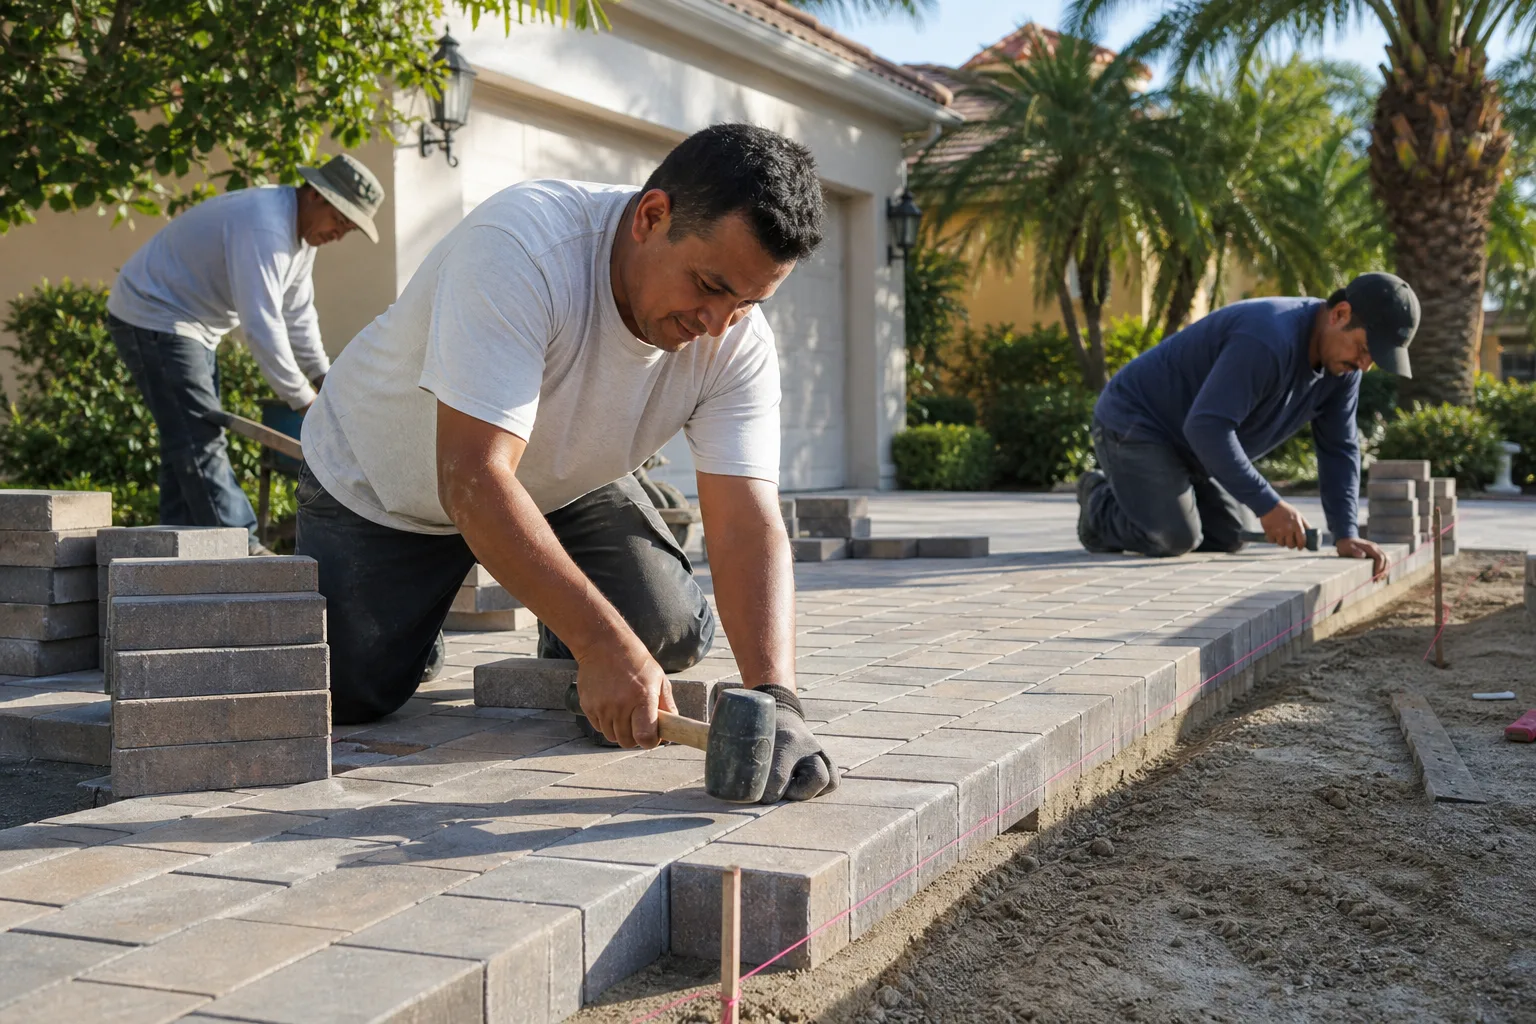
Most sinking pavers in Grand Prairie come from one of three causes: settlement from an under-compacted base, clay movement in expansive soils, or washout from water eroding the base material. The pattern tells you which: isolated rocking is usually washout, a wide gradual dip is settlement or clay movement, and a sinking strip along an edge is erosion. Call (844) 771-4071 for a free estimate to identify the specific cause.
Repair cost depends entirely on the scope. Repair-in-place for a small area is the least involved. Lift-relay across a larger area costs more because it involves removing pavers, re-grading and re-compacting base, and re-installing the same pavers. Full reconstruction is the highest scope because the base is removed and rebuilt. The written, line-item estimate sets the final price, and estimates are free. Call (844) 771-4071 to find out which scope your driveway actually needs.
No, not when the scope is documented in a written estimate. A written line-item estimate is what protects you against change orders: it specifies the base depth, compaction, edge restraint, and joint sand so there are no surprises mid-job. Ask for the scope in writing before any work begins. Call (844) 771-4071 for a free written estimate.
Many driveway and hardscape projects that change the footprint, grade, or drainage of a property require permits from the city. That’s a question to confirm with the City of Grand Prairie’s building department and with the contractor doing the work before anything gets scheduled. We build every scope to the permit and inspection requirements that apply, and we’ll tell you what’s needed for your specific project. Call (844) 771-4071 to talk through your scope.
Weeds coming back is a sign the polymeric sand has failed or was never activated correctly. When polymeric sand is installed with the right water activation and left to cure, it doesn’t support weeds or ant tunnels. If your joints are loose or washing out after every rain, re-sanding with a properly specified polymeric product is the fix. For a full driveway re-sand and joint inspection, call (844) 771-4071. Estimates are free.
Timing is the tell. Settlement typically happens in the first one to three years after installation and then stabilizes as the base consolidates. Clay heave keeps moving seasonally, so you’ll notice the pattern shifting with wet and dry years. A wide gradual dip is usually one or the other, and the remedy is often the same lift-relay scope. Call (844) 771-4071 for a free inspection to confirm which one you’re looking at.
It’s better not to. High pressure can chip the paver face and dislodge the joint sand, and over-spraying the surface makes future efflorescence worse by opening the paver pores. Use a dedicated efflorescence remover diluted per the label, apply in small sections, and address any underlying moisture problem so the staining doesn’t return. If the staining keeps coming back, call (844) 771-4071 for a free estimate on the joints and drainage.
The Bottom Line
If your pavers are failing, look underneath the surface. Bad base prep, the wrong joint sand, and poor drainage account for almost every driveway problem we see in Grand Prairie. The pattern tells you which one. Isolated rocking is usually washout, a wide dip is settlement or clay movement, sinking strips are erosion, weeds in every joint are polymeric sand failure, and white haze is efflorescence from moisture and North Texas soil minerals. Before you approve a full replacement, ask what the base looks like and what scope makes sense. Most problems have a targeted fix that costs far less than starting over. If you’re in Grand Prairie and want a second opinion, we’ll walk the driveway with you and put the scope in writing.
Every scope we write includes what’s being fixed, why, and how long it takes. Nobody should have to guess whether they’re being sold a rebuild they don’t need.
Call (844) 771-4071 for a free estimate. We answer 24/7. Fast dispatch from 7am to 7pm, Sunday through Friday.
Written by the team at Construction Grand Prairie.