Last updated November 18, 2026

Free written scope consultation - allowances, timeline, and change-order rules on paper before a single trade is scheduled
Driveway & Pavers Maintenance Checklist for Grand Prairie Homeowners
A paver driveway in Grand Prairie that wasn’t installed over a properly compacted decomposed granite base with polymeric sand joints starts showing gaps and rocking stones within two summers. That’s true no matter how premium the pavers are. The stone isn’t the weak point. The base and the joints are, and they’re the two things almost every maintenance guide skips. Grand Prairie sits on expansive clay soil and swings between 105-degree summers and short, wet freezes, which punishes driveways differently than the temperate-climate advice you’ll find online. This guide gives you a season-by-season protocol built around what actually fails here: joint sand washout, clay heave, base settlement, and runoff that quietly eats your slab from underneath.
Quick Answer
Maintain a Grand Prairie driveway by re-sanding polymeric joints every spring before summer heat, sealing pavers or concrete before the first 95-degree stretch, checking slope and drainage twice a year, and fixing rocking or heaving stones promptly before the base fails. Concrete gets a crack assessment after every wet season. Paver driveways installed with a compacted decomposed granite base and quality joint sand need considerably less repair than ones that weren’t.
Styles & brands we work with
- Kitchen remodeling
- Bathroom remodeling
- Home additions & ADU
- Roofing
- Windows & doors
- Driveway & pavers
- Fence
Table of Contents
- The Season-by-Season Grand Prairie Maintenance Calendar
- Why Polymeric Sand Re-Jointing Isn’t Optional in Texas Heat
- Clay Heave vs. Poor Installation: Diagnosing Uneven Pavers
- Concrete Crack Assessment: Cosmetic vs. Base Failure
- Pre-Summer Sealing Checklist for Concrete and Pavers
- Storm Drain and Runoff Grading Checks
- DIY vs. Contractor: Which Fixes You Should Actually Attempt
The Season-by-Season Grand Prairie Maintenance Calendar
Grand Prairie doesn’t have a long driveway-off-season. The work shifts with the calendar, and the biggest mistakes happen when homeowners treat all four seasons the same. Here’s the cycle we walk clients through.
Spring (March – May): This is your re-sanding and inspection window. Winter rain and the occasional hard freeze open joints a little wider. Polymeric sand goes in before the ground fully warms up, and inspecting for rocking pavers after the last cold snap catches new movement early. This is also when you check that drainage swales still shed water away from the foundation after the wet months.
Summer (June – August): Heat is the enemy of joint sand and sealers. Texas sun drives surface temperature on pavers up well past air temperature, which is precisely why you finish sealing before the first sustained 95-degree stretch, not during it. Polymeric sand needs to cure before extreme heat bakes it. Sealing in full July sun can trap moisture and leave a cloudy finish.
Fall (September – November): This is the best window for concrete crack repair and for sealing anything you missed in spring. Pavers and concrete both contract slightly as temperatures drop, so fresh cracks open up in early fall. That’s your cue to reassess.
Winter (December – February): Grand Prairie winters are mild, but they aren’t nothing. Short freezes push clay soil around, and the runoff from winter rain is when slope problems show themselves. Winter is a check-and-observe season: watch for ponding after storms and note where water pools.
If you keep a log of what you find each season, you’ll spot a failing base long before it turns into a $10,000 driveway. That’s the whole point of a calendar: catching small failures when they’re still small.
Why Polymeric Sand Re-Jointing Isn’t Optional in Texas Heat
Re-jointing with polymeric sand every spring keeps pavers locked in place, keeps weeds out of the joints, and stops ants from undermining the sand bed. In Grand Prairie, skipping it for a second season is how a driveway that looked fine in May looks wobbly by September. The heat is brutal, but so is the alternation between dry and wet. Polymeric sand expands and contracts with the pavers and washes out in heavy rain when joints are shallow or the sand has degraded.
Not all polymeric sand is created equal, and this matters more in North Texas than most places. Big-box store polymeric sand often has a shorter working window, cures softer, and hazed over sooner in summer sun. Products like Techniseal have held up better in our experience on driveways that see full afternoon sun and regular vehicle traffic. The key isn’t just the brand. It’s the application.
Here’s how proper re-jointing works:
- Clean the joints completely, removing old sand, weeds, and debris down to a consistent depth. Power washing the joints open is the standard first step.
- Let the surface dry thoroughly. Wet joints prevent polymeric sand from curing properly.
- Apply the sand, sweep it into the joints, and compact with a plate compactor to force sand into the full joint depth.
- Re-sweep, top off low joints, then mist the surface to activate the polymer per the product instructions.
- Keep foot and vehicle traffic off until the sand has cured, typically a set number of hours depending on temperature and humidity.
The mistake most homeowners make is buying cheap sand and then sweeping it in without compacting. That’s a one-summer fix. Proper joint sand on a Tremron or Techo-Bloc driveway lasts much longer when it’s applied right in the first place.
Clay Heave vs. Poor Installation: Diagnosing Uneven Pavers
Uneven pavers in Grand Prairie come from two very different causes, and the fix isn’t the same. That distinction costs real money if you get it wrong, so it’s worth learning to spot. Clay heave is driven by the soil. Poor installation is driven by the base and the original build.
What clay heave looks like: A localized bulge or buckling, often appearing after a wet period followed by a dry one, or after a freeze. It’s frequently concentrated at the edges of the driveway or near the house foundation where the clay content is highest. Pavers lift together in an area rather than sitting individually uneven. The soil underneath is doing this, and fixing it usually means removing affected pavers, correcting the base, and re-laying the section, sometimes with a stabilization treatment.
What poor installation looks like: Individual pavers rocking, a “bowl” in the drive, or joints widening over time in a pattern that follows traffic lanes. It traces back to an inadequately compacted decomposed granite base, a bed layer that’s too thick, or missing plate compaction on the base and the sand. The fix is more involved, sometimes full removal of a section down to the base, re-compaction, and re-laying.
How to tell the difference:
- Tap a suspect paver with a mallet. A hollow sound means air or loose base underneath. A dull thud means the paver is seated but the surrounding pavers have moved.
- Look at the direction of movement. Heave tends to push up and out in one area. Poor installation tends to sink or rock in traffic patterns.
- Notice the timing. Heave often appears suddenly after rain or a freeze. Base failure gets worse gradually over months.
- Check the perimeter. If edges lift first, suspect the base or edge restraint. If the middle buckles, suspect clay heave or insufficient joints.
If you’re unsure which you’re dealing with, that’s the point to bring in someone who installs Belgard, Unilock, Tremron, and Techo-Bloc systems regularly. A trained eye can usually tell within a few minutes of looking.
Concrete Crack Assessment: Cosmetic vs. Base Failure
A hairline crack in a Grand Prairie concrete driveway is common and usually cosmetic. A widening crack, a crack that follows a straight line, or a crack with vertical displacement on one side is a signal of base failure or soil movement. That’s the line you need to draw. Clay soil expands and contracts with moisture, and a driveway on a marginal base will crack as a result.
Here’s how to assess a crack without guessing:
- Measure the width. Hairline cracks (under about 1/8 inch) that aren’t growing are usually cosmetic and can be filled with a quality polyurethane caulk.
- Look for displacement. If one side is higher than the other, the slab has moved and the base underneath needs review.
- Check the direction. Cracks that run along the slab’s natural expansion joints are usually expected. Random diagonal cracks are more concerning.
- Watch the trend. Take a photo every few weeks for a season. A crack that grows consistently means the movement is active.
- Look for spalling or crumbling. This can indicate a concrete mix or finishing problem, not just movement, and it’s a separate repair.
Grand Prairie’s soil movement is real, and there’s only so much any driveway can do to resist it. What most concrete driveways need is proper base preparation and control joints at the right spacing, plus a homeowner who notices a widening crack before it splits the slab. If a crack has moved, a contractor can usually determine whether a jointed repair is enough or whether a section needs to be replaced.
Pre-Summer Sealing Checklist for Concrete and Pavers
Sealing before summer protects pavers and concrete from UV damage and slows moisture movement. But sealing the wrong way, with the wrong product on a dirty surface, causes problems. In Grand Prairie, this has to happen before the first sustained 95-degree run, usually late spring, not mid-July. The heat affects curing, and going too late leaves the surface vulnerable during the worst of the season.
Here’s a pre-summer sealing checklist:
- Clean the surface first, and clean it properly. Use a cleaner matched to the material. A general-purpose degreaser on pavers is not enough if there’s efflorescence or organic growth. A paver-specific cleaner or a diluted muriatic mix (on concrete only) is what properly preps the surface. Never apply a sealer over oil, moss, or dirt; the sealer will just lock it in.
- Let the surface dry completely. Penetrating sealers fail if moisture is trapped underneath. Wait at least 48 hours after washing and check for damp patches.
- Mask the surrounding areas. Garage doors, walls, and landscaping all suffer from overspray. Take the ten minutes to protect them.
- Apply a penetrating sealer, not a film-forming one, for Texas sun. Penetrating sealers like Brickform or Surecrete soak into the pores and let the material breathe. Film-forming sealers trap moisture and weather off in the summer heat, leaving a mottled look.
- Apply in thin, even coats. Two thin coats is better than one heavy one, and this applies especially in higher heat. Read the product’s temperature range before you start.
- Keep traffic off as directed. Let the sealer cure per the manufacturer’s window before driving on it.
For pavers on a Cambridge Pavers or Oldcastle system, sealing also locks the joint sand and helps it resist washout. That means the sealer does two jobs at once, and that’s why pre-summer is the single best window to do it.
Storm Drain and Runoff Grading Checks
Water is the quietest way a Grand Prairie driveway gets destroyed. Improper slope sends runoff toward your house or pools against the driveway edge, and both problems eventually damage more than the driveway. Foundation moisture, slab settlement, and paver washout all start with a runoff problem that went unchecked.
What to check:
- Slope away from the foundation. A driveway should pitch slightly away from the house, never toward it. Even a small negative pitch is a problem; walk it after rain and watch where the water actually goes.
- Drainage swales and low points. Grand Prairie’s storm runoff can be intense in a short window. Any low point on the driveway will pool, and repeating pools soften the base underneath.
- Driveway-to-garage transition. This is where water gets in. Check the seal at the gap between the driveway and the garage floor; that’s a common leak point that damages flooring and framing.
- Downspout discharge. If a downspout dumps rain onto the driveway, the paver joints wash out faster. Reroute it.
- Adjacent landscaping. Planting bed soil that sits higher than the driveway edge feeds water onto the paving.
If you find the slope is wrong and water is running toward the house, that’s a repair job, not a maintain-and-watch job. Correcting grade under a driveway often requires removing and re-laying pavers or section-replacing a slab. That’s the point to get a contractor’s eyes on it, not a bottle of crack filler.
DIY vs. Contractor: Which Fixes You Should Actually Attempt
Some driveway maintenance is genuinely DIY-friendly. Some of it should never be. The line is roughly this: cleaning, polymeric sand, sealing, and crack filling are homeowner tasks if you’re attentive and have the right tools. Base correction, clay heave repair, slope re-grading, and widespread paver replacement are contractor work.
Here’s how we’d sort it:
Reasonable to do yourself:
- Spring cleaning with a paver-specific cleaner
- Polymeric sand re-jointing on small sections
- Applying penetrating sealer in the right weather window
- Filling hairline concrete cracks with polyurethane caulk
- Rerouting downspouts away from the driveway
Where a professional saves you money in the long run:
- Clay heave correction, which needs base work under the exposed pavers
- Section replacement of a settled concrete slab
- Re-grading that changes the driveway’s slope
- Any repair that lifts more than a handful of pavers
- The original installation, which determines everything downstream
We’ve seen dozens of Grand Prairie driveways where a homeowner tried to fix a rocking paver and ended up chasing movement across the entire driveway. The base is the invisible part, and it’s the part that matters most. Get the base right and the maintenance gets easy. Get it wrong, and you’re re-doing sections until you eventually replace the driveway.
Common Mistakes to Avoid
- Skipping the polymeric sand for a season. One missed spring is often enough for the joints to wash out and the pavers to start moving. Catch it the first year and you’re re-sanding; catch it the third year and you’re rebuilding base.
- Using cheap big-box polymeric sand. It cures softer, hazes over sooner, and washes out faster in North Texas rain. The cost difference for the better product is small compared to re-doing the joints twice.
- Sealing in July heat. Sealing on a day over 90 degrees can cause the product to cure too fast, trap moisture, or look cloudy. Do it in spring, per the manufacturer’s temperature range.
- Power washing pavers to “clean” them without re-sanding after. Power washing is fine for prep, but you have to top off the sand after. Otherwise, you’ve just accelerated the joint washout.
- Treating every crack the same. Filling a widening, displaced concrete crack with caulk is a temporary band-aid. The base underneath needs to be evaluated.
- Ignoring water running toward the garage. Every storm pushes water at the transition. If the driveway pitches toward the garage, you’re going to see it in the garage interior before you see it in the driveway.
- Assuming an uneven paver is always the installer’s fault. In Grand Prairie, clay heave is often the cause, and it’s soil movement, not installation errors. Misdiagnosing it means repairing incorrectly and watching it happen again.
See the difference
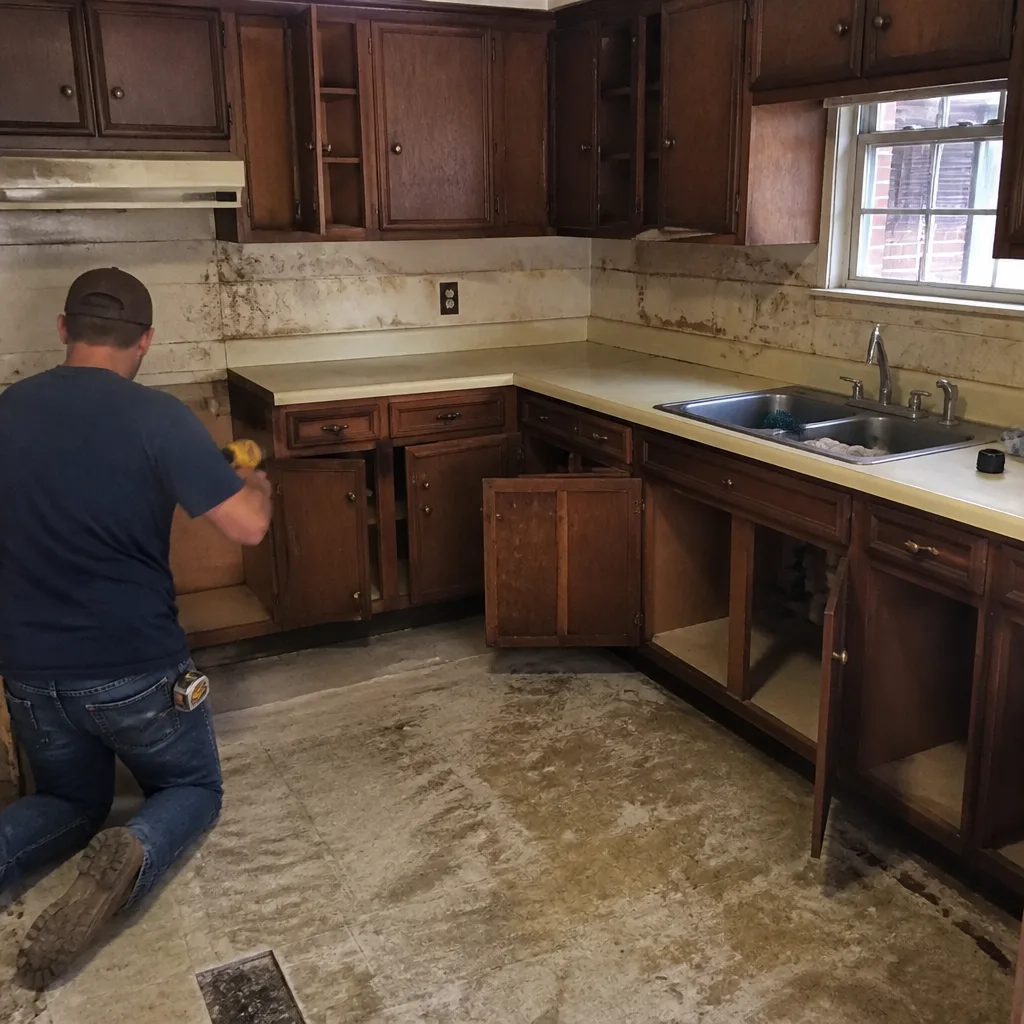 Before
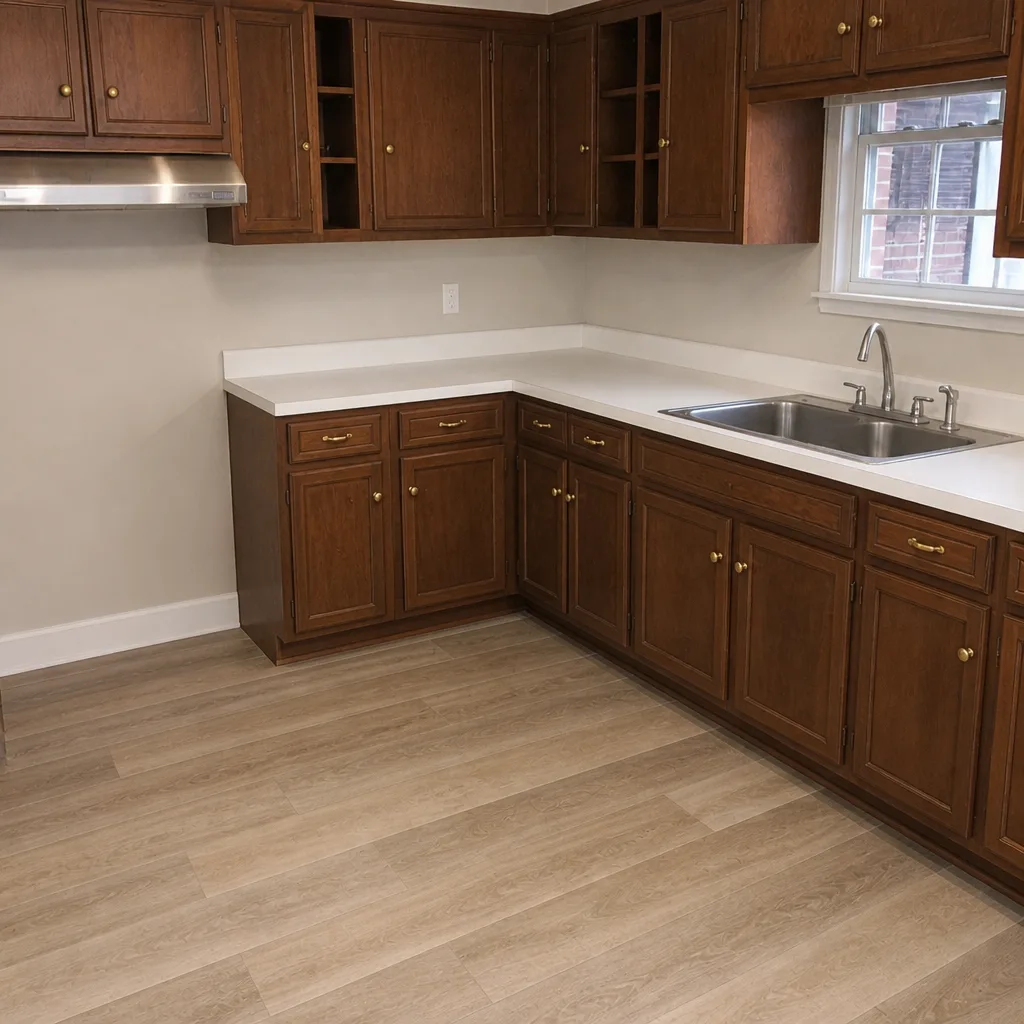 After
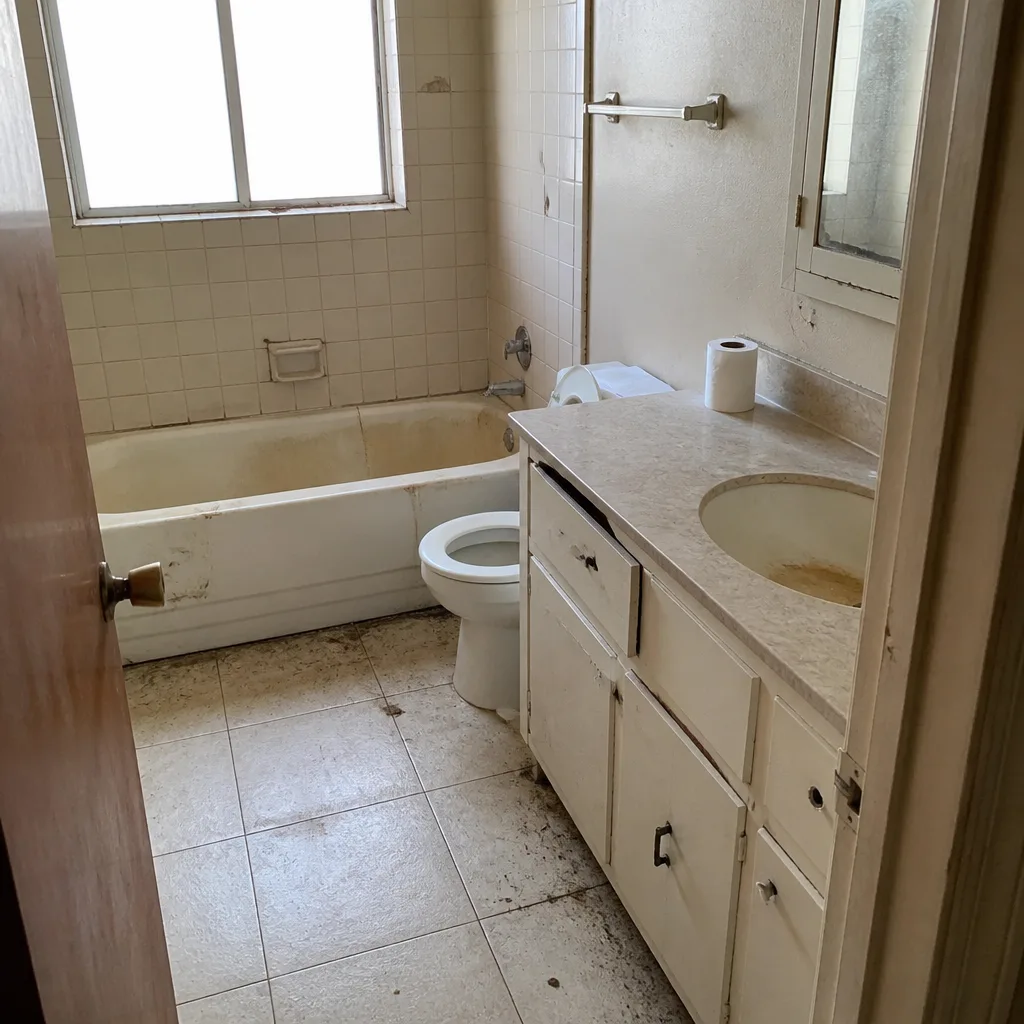 Before
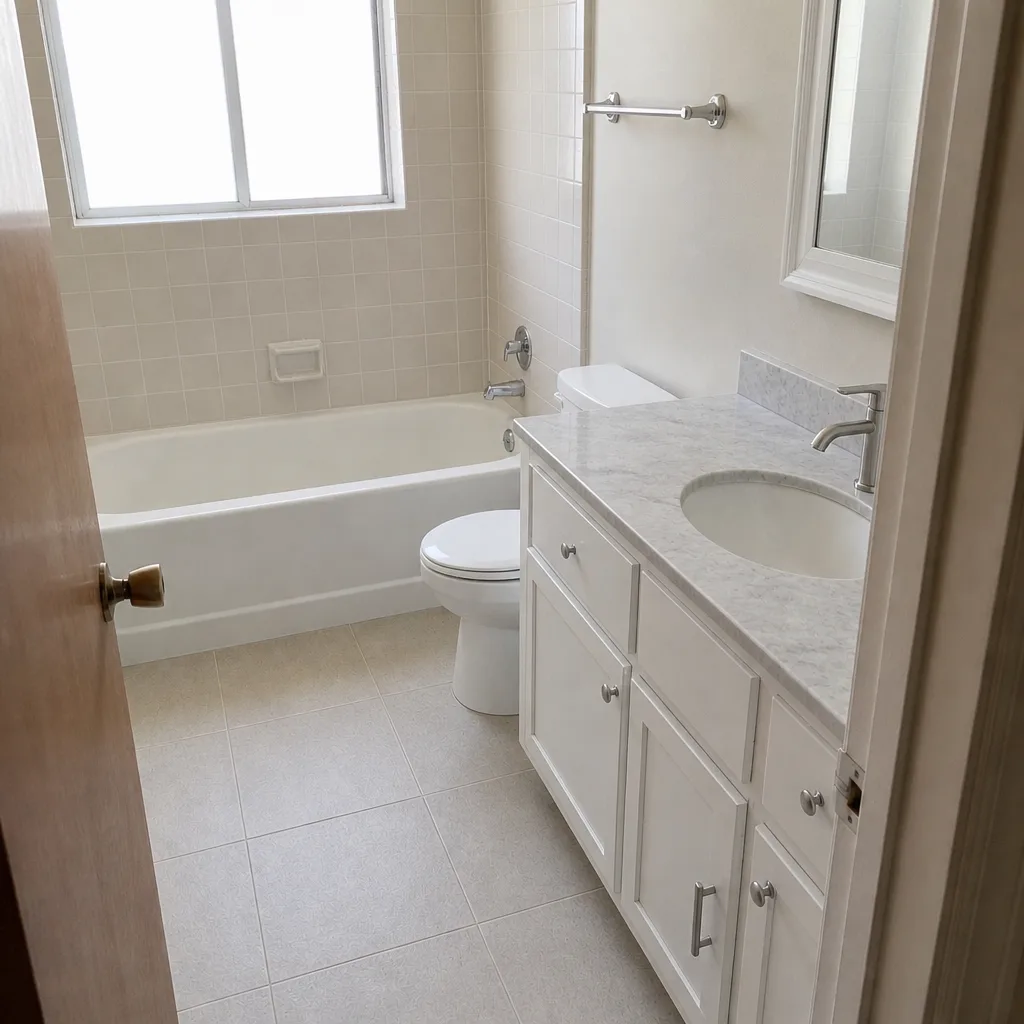 After
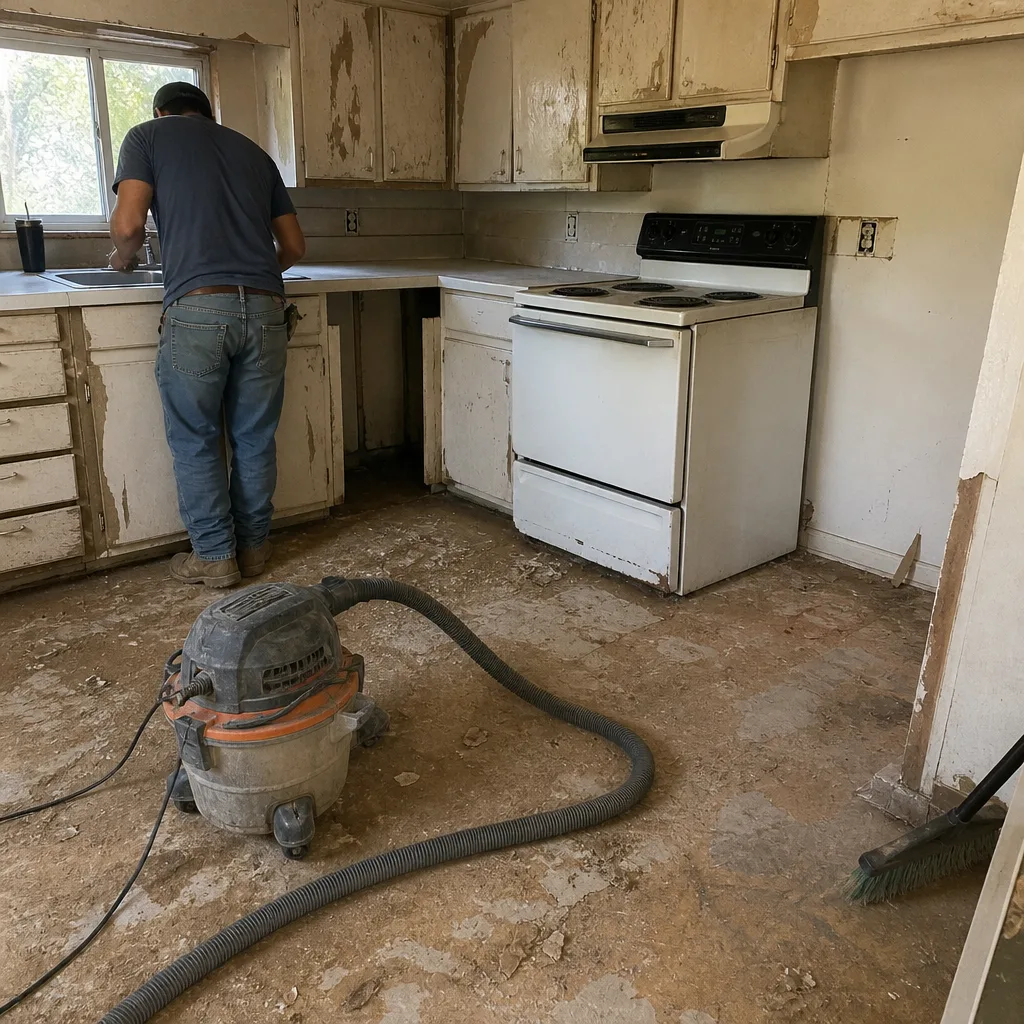 Before
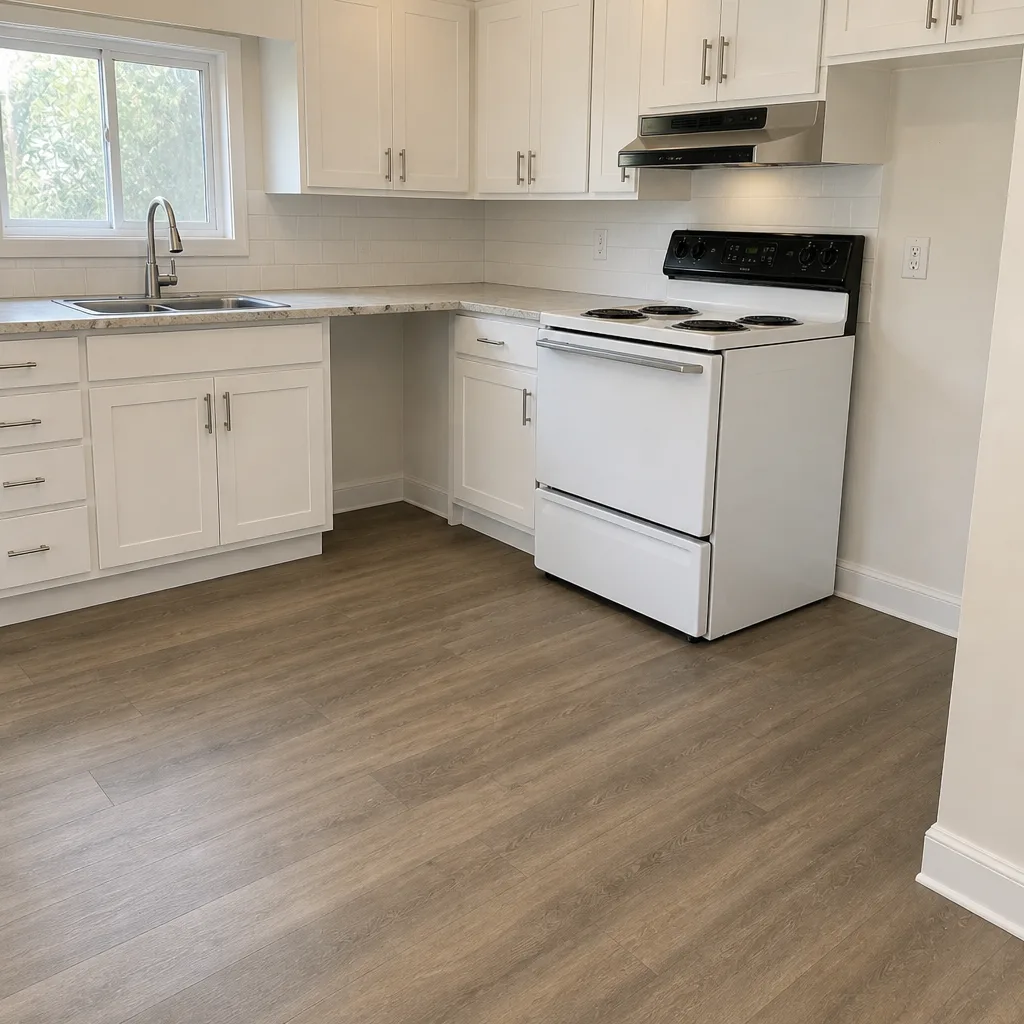 After
When to Call a Professional
Call a professional when the problem is underneath the surface. That means rocking pavers that spread despite re-sanding, clay heave that lifts a whole section, a concrete crack with vertical displacement, water that runs toward the house after a storm, or a driveway that’s visibly sunk at the garage transition. Cleaning and sealing you can handle yourself. Base correction, slab replacement, and slope work require equipment and experience to get right the first time, and a bad repair costs more than the original call. Our technicians have up to 10 years of experience in driveway and paver work, and we know what Grand Prairie soil does to a marginal base. Construction Grand Prairie offers free estimates in Grand Prairie. Call (844) 771-4071 to schedule yours. We answer 24/7. Fast dispatch from 7am to 7pm, Sunday through Friday.
Frequently Asked Questions
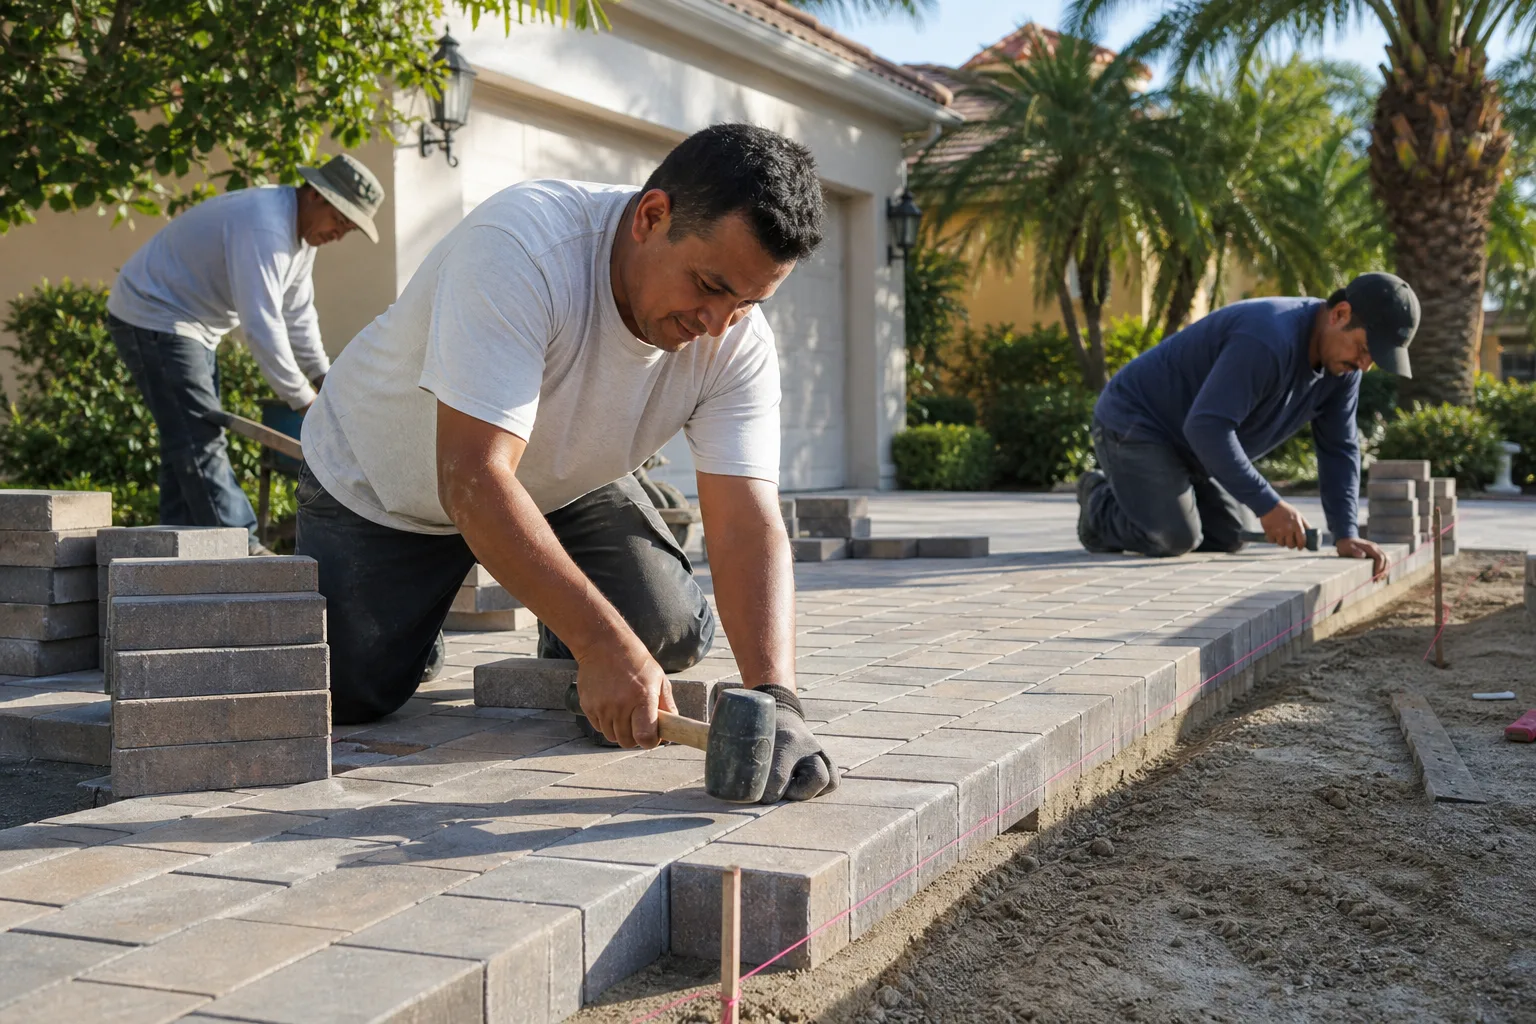
Once a year, ideally in spring, is the right cadence for most Grand Prairie paver driveways. High summer heat, seasonal rain, and normal vehicle traffic all break down the joints. If your driveway is in full afternoon sun or gets heavy traction from trucks, re-sanding in the fall as well is worth considering. Call (844) 771-4071 for a free estimate if the joints are widespread and you’d rather have it done right than re-do it yourself.
Look at the pattern and the timing. Clay heave tends to buckle or lift a whole area, often after a wet-then-dry cycle or a freeze. Base failure tends to make individual pavers rock, sink into traffic lanes, or form a bowl across the drive. If you’re not sure, a short inspection will tell you which repair path you’re on. Call (844) 771-4071 for a free estimate that includes a diagnosis.
Yes, with the right products and weather window. Use a penetrating sealer, not a film-forming one, and apply it in spring before the first sustained 95-degree stretch. Clean and dry the surface first. What’s not DIY-friendly is fixing a driveway that’s already failing underneath; sealer doesn’t stop base movement or clay heave. Call (844) 771-4071 for a free estimate on the structural repairs.
Late spring, before the summer heat sets in, is the best window. Fall works for anything you missed, since temperatures are moderate and the surface is dry. Avoid sealing in the middle of July, when curing goes too fast. For paver driveways, sealing works better right after re-sanding so the sealer can lock the joint sand in place. Call (844) 771-4071 to talk through timing and scope.
It might, and it’s worth watching. Hairline cracks under about 1/8 inch that aren’t growing are usually cosmetic and can be filled with polyurethane caulk. If the crack widens over a season, if one side sits higher than the other, or if it runs diagonally across the slab, the base is likely moving. Take photos and measure the width every few weeks; if it’s growing, get an assessment. Call (844) 771-4071 for a free estimate on repair.
In nearly every case, the driveway’s slope has settled, or the original grading wasn’t right. Grand Prairie clay soil moves under wet/dry cycling and can pull the driveway out of its intended pitch. Water running toward the garage is a serious problem because it finds its way into the interior over time. The fix is re-grading, which requires lifting and re-laying pavers or replacing a concrete section. Call (844) 771-4071 for a free estimate on slope correction.
The Bottom Line
Grand Prairie driveways fail for predictable reasons: washed-out joints, moving clay soil, slab settlement, and runoff that was never graded correctly. Maintain a yearly spring re-sanding, seal before the summer heat, watch cracks and pavers for movement, and check drainage twice a year. Get the base right on the original install and your maintenance stays simple. Skip it, and every summer gets more expensive. If your driveway is at the point where maintenance no longer solves it, that’s when a proper repair pays for itself.
Call Construction Grand Prairie at (844) 771-4071 for a free estimate on driveway repair, re-sanding, sealing, or a full paver installation. We answer 24/7. Fast dispatch from 7am to 7pm, Sunday through Friday. If you’d like to see the full scope of our exterior and hardscape work, start with driveway & pavers, and read more about us at Construction Grand Prairie. Homeowners pairing a driveway refresh with other upgrades can also look at fence installation and home additions & ADU for a coordinated exterior plan with one contractor, one timeline, and one point of accountability.
Written by the team at Construction Grand Prairie.